
DIY Standing Desk

Disclosure: This blog contains affiliate links. I will receive a commission for items purchased through these links at no extra cost to you. I appreciate your support. Please read all labels and follow all manufacturer safety recommendations when working with paints, stains, and other equipment.
Supplies Needed
It’s go time!
If you are anything like me, then you probably have a hard time finding exactly the piece of furniture you want online!
When I decided that I was ready for a standing desk, I started scrolling Amazon and nothing was really jumping out at me. It seemed like the only options were: all white, all black, or black legs with a fake wood top. I started to think, is that really the only choices I get?? And then I saw it, a listing for just the legs. and. my. mind. was. racing.
I love the idea of being able to buy all the hardware, and then customizing the top to my liking! (this freedom would later send me into an indecisive spiral 😂)
So, here’s how I ended up building mine!

Selecting your wood
There are so many options you could do when building your desktop, but I think the easiest way is to buy a butcher block. They are extremely durable and solid which you want in a desk.
I grabbed mine from Home Depot. They actually sell a couple varieties of butcher block as well. Birch wood is the most common (they usually have this in stock), but they also sell Hevea, Walnut, Maple, etc. that you can order online. I went with Acacia wood. I love the tone and the contrast between the light and darker pieces.
The standard size they sell is 6ft long by 25in, and I actually thought that was the perfect size for my desk. They edges are already routed for you too which is really nice! All I had to do was unwrap it and I was ready for stain/sealer!
If you need to cut the butcher block down you can cut it with a hand held circular saw. Butcher block is extremely hard wood so you likely will not be able to cut through the whole piece on your first pass. I’d recommend setting your blade so that it cuts halfway through the board, then flipping it over and repeating. This will give you a cleaner finished cut and reduces stress on your saw.
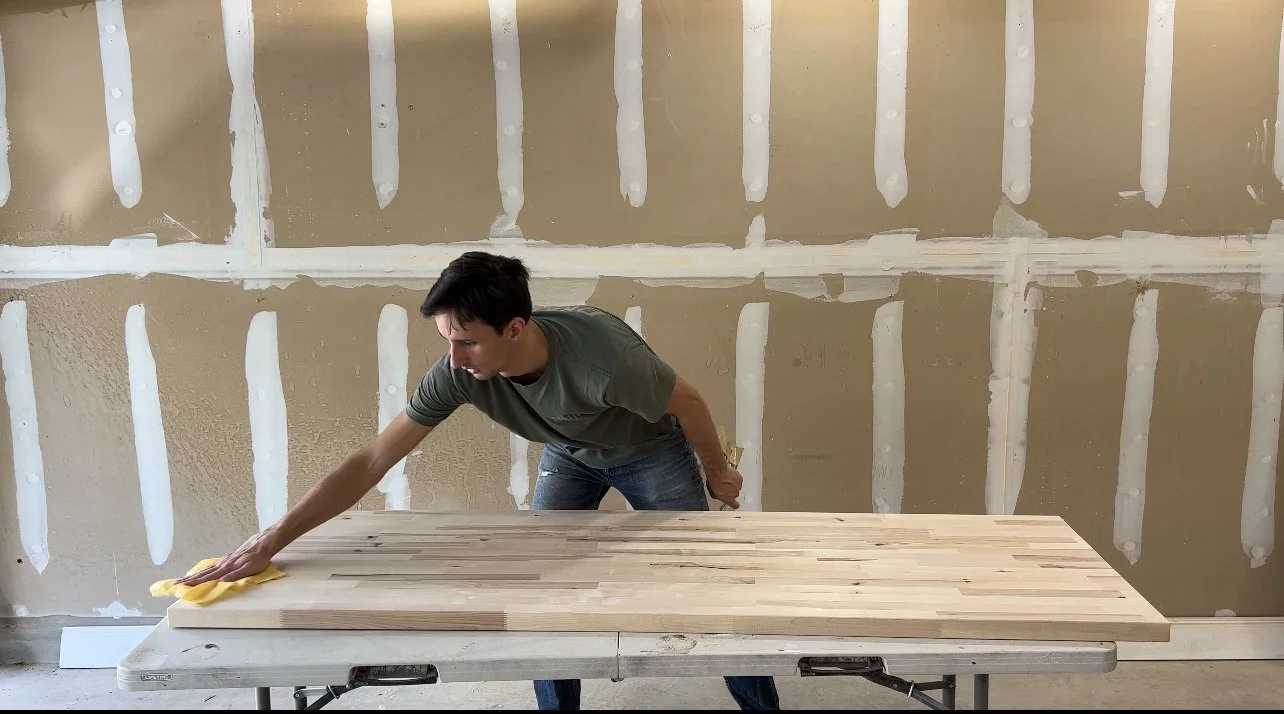
Prep
The butcher blocks from Home Depot come pre-sanded to 150 grit sand paper. You need to sand to at least a 220 grit before you are ready to stain. You can either do that by hand with 220 grit sanding blocks, or with an orbital sander.
After sanding it is super important to remove all of the dust. I recommend using tack cloths. They are a slightly stick rag that is able to suck up all the micro dust particles you can get with a normal rag.
Now for my favorite part, pre-stain wood conditioner. Have you ever pored soap on a dry sponge? If you do, the soap doesn’t really spread out over the sponge. It just stays were you were applied it, but if you get the sponge wet before applying the soap it will spread around much easier. Think of your piece of wood like a sponge and the stain is your soap! Pre-stain conditioner is the “water” that we put on the sponge. It gets the piece of wood ready for the stain and helps avoid streaky finishes.
Stain (optional)
Test. Your. Stain.
You never really know how the stain color will look on your piece until you try it. Every piece of wood will look different with stain, don’t rely on the picture on the can. Test it!
I suggest, testing out your stain(s) on the back of your butcher block. It is so easy to sand away these test spots after you’ve made your decision. Don’t stress about messing anything up!
What type of stain?
When you are staining something the basic principle is that you apply the stain, wait a few minutes, and then wipe off the excess before it dries. A desk is a relatively large surface to stain and the application can take a while. If your stain starts drying before you have finished applying it will not look good, and that’s what happened to me! I started with a water-based stain that had a quick dry time and I couldn’t work fast enough. I recommend using an oil based stain for that reason.
Oil based stains have a slower dry time which means you can take your time when applying the stain and have the ability to leave it on the wood for longer before wiping off the excess.
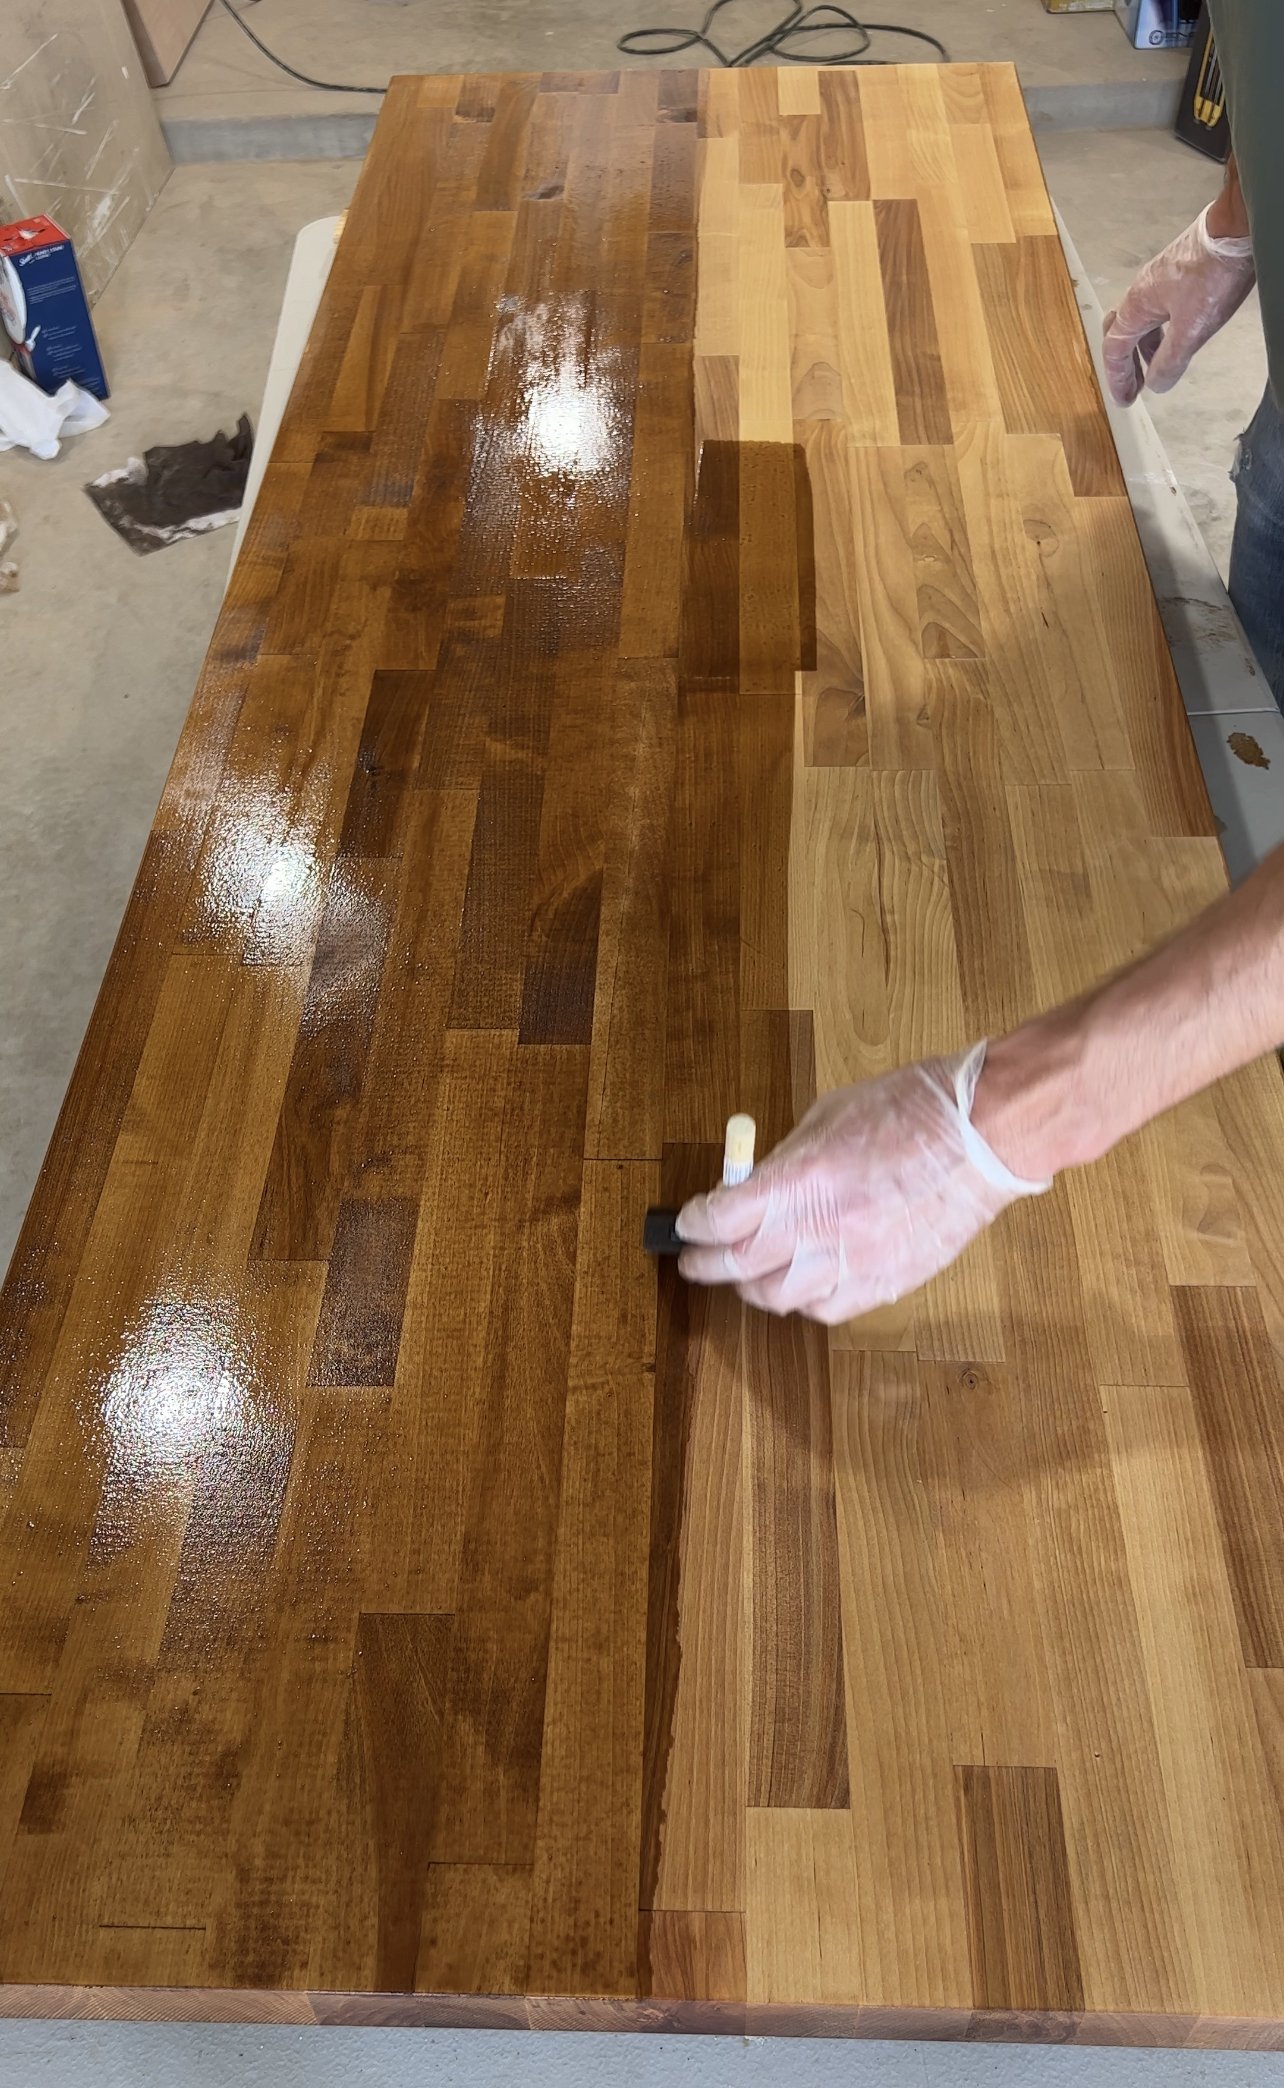
Applying the stain
I applied my stain using a standard foam brush and it was so easy! Work in rows, going with the grain of the wood. It helps if you overlap your rows just a little bit each time.
After you’ve gotten your stain applied and it looks even, let it sit on the wood. The longer you leave your stain on the wood before wiping, the darker your finished product will be. The can usually recommends you leave it on for up to 15min, but on one of my practice runs I left it on for 30min and it seemed to be just fine.
Whenever you are ready, wipe off the excess stain. I used these Scotts rags and totally loved them! Previously I had just been using pieces of an old t-shirt to wipe with but it doesn’t absorb as well as these rags did.
Warning: Do not throw your stain rags away when they are wet! If you do throw them away they can just randomly burst into flames! Lay them out to dry before throwing them away and you should be good. Additionally, make sure you are staining in a well ventilated area.
You can repeat this process as many times as you want. Each time you do your wood will get a little darker. Honestly tho, if you are looking for a darker end result just buy a darker stain. It’s a pain having to wait for everything to dry before doing your second coat.

For my desk, I tested out a stain called English Chestnut and I tested out what it would look like with just a clear coat. Much to my surprise they looked almost identical! The stain just darkened up the grain a bit on the lighter boards. I ended up going with the clear coat because it was less time and effort and ultimate would pretty much identical to the stain version.

Sealer
Sealing your butcher block is SO important. If you don’t and then you spill your coffee or lunch you could totally ruin the desk and have to start over! The clear coat also protects against the oils in your hands which can darken and mess up wood.
I used a water-based polyurethane for my top coat. I like the water based option because it is so easy to clean up if it spills anywhere.
Before applying your first coat check to see if there are any rough parts on your piece of wood. If so sand them down with 220 grit sandpaper.
I like applying my poly with a foam brush because I think it helps me stay more consistent than a normal brush. Once you are ready, start in the corner of your piece and apply with the grain of the wood. It will look milky when you apply it, and that is ok! Don’t try to brush it till it is clear, you actually want to avoid overbrushing. The poly has a great self leveler component to it which will smooth out any brush strokes.
I worked my way down the piece in rows, and I tried to overlap my rows by just a little bit. It is really hard for me to avoid over brushing!
Repeat this process three times. Depending on the brand of poly that you use you might have to wait 1-2 hours before you can re-apply. After the first coat there will likely be some more grain raise and that’s ok! Grab your 220 sanding block and smooth those out.
After your second coat there shouldn’t be any more grain raise but you will likely see some brush marks. I used 1500 grit sandpaper to sand those out. You can actually use that sandpaper dry or wet depending on your preference.
Take your time applying the poly. It is not a race, just focus on getting straight lines and avoid overbrushing.
After applying your third coat you should be good to go! It will take a few days for it to fully cure but you can still move it around when it is dry. I let me third coat dry overnight and then the next morning began building!

Assembly
Once your table top is ready it’s time to assemble!
I use this standing desk leg kit from Amazon, but they have SO MANY options depending on what color, size, etc. that you need.
Obviously you should follow your instructions for your specific leg kit, but one thing I will say…be careful when screwing into your table top!
My legs came with self taping screws and when I used my drill to screw one of them in, it was too powerful and the screw didn’t catch into the wood. I recommend using a regular or electric screwdriver. For some reason these self taping screws perform better when they are going in slower and I assume have more time to grab onto the wood.

TLDR
ALWAYS use pre-stain conditioner. It prepares the wood and helps you get a consistent finished look (aka, no streaks).
When applying your stain, GO SLOW. Apply it in one consistent direction and in straight lines with a small overlap. The foam brushes were my favorite to work with!
When staining a large surface, oil based stains were the easiest to work with. They dry slower and give you a little extra time to make sure you’ve applied it evenly.
Test your stain, and then come back to it later that day or the next! Don’t feel like you have to rush into something just to get the project done.
When in doubt, just use a clear coat ;)
Let me know if you give this project a shot, you’ve got this!